How to Light Paint at Home
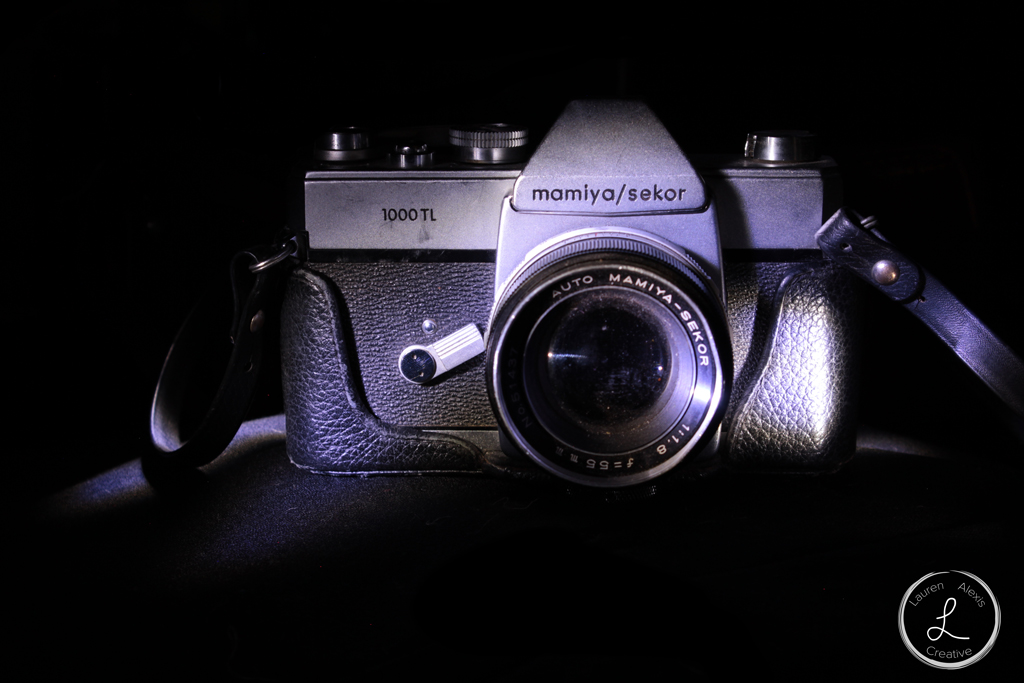
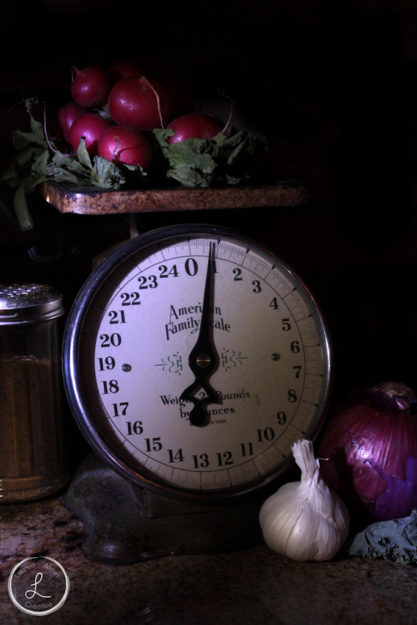
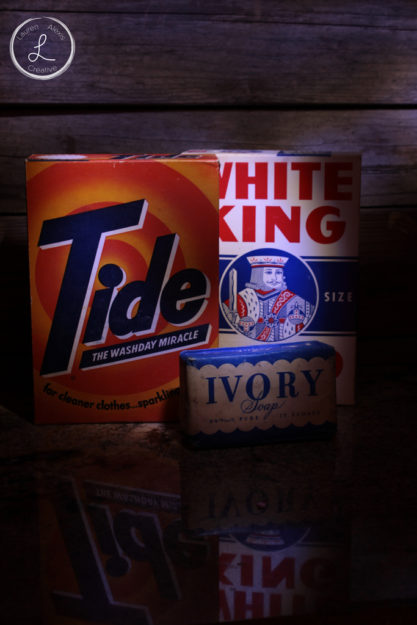
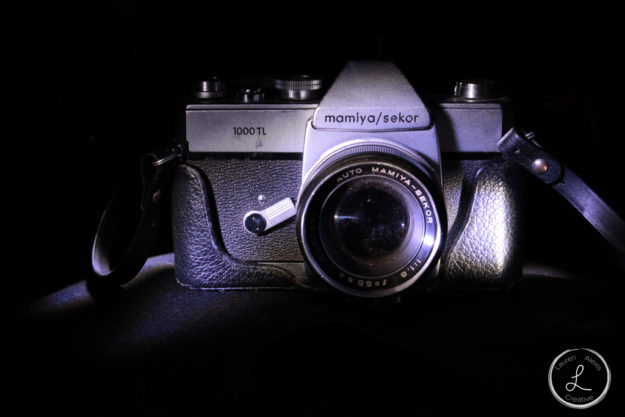
Light painting is so much fun and it’s really easy to do. Just like with product photography it is very important to set up your shots, and stage it. It is also important that you put your camera on tripod or other stable surface. Once you have your setup and equipment ready you need to turn out all of the lights, and be sure you have a flashlight or two. Then you need to shine a light on your subject, and have your camera focus on it. Then it is very important to witch the focus to manual. This allows you to keep your object in focus in the dark. If you don’t bump your camera you only need to do this step once. When doing your settings it is important to keep your shutter speed long. The longer your shutter speed the more time you will have to paint. When painting it is very important to remember to leave shadows. this adds contrast and drama to your images.
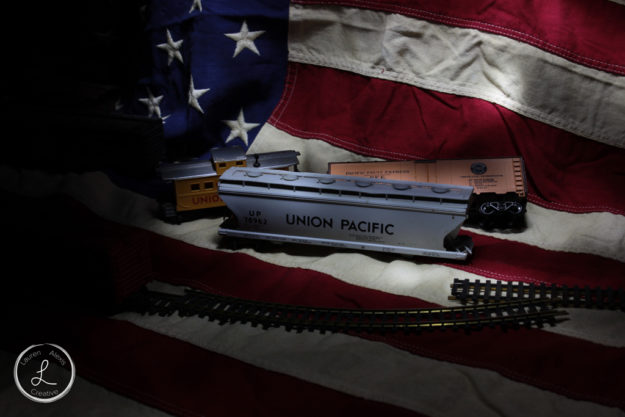
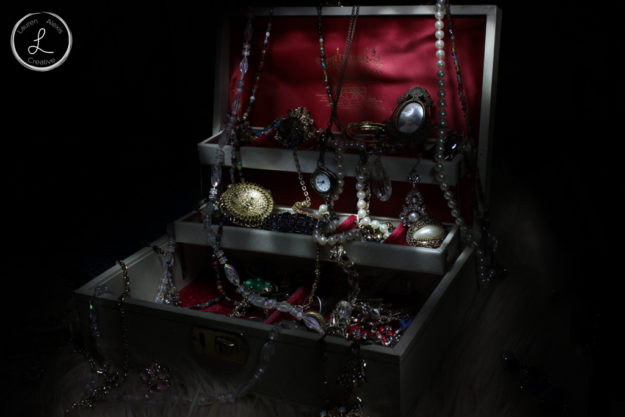
Another really cool method for light painting is adding faux bokeh, or fake blur. You do the same steps I mentioned above, but you begin by lighting the part of the image you want to be in focus. Once you do that turn the light off and spin the focus ring on your camera. Remember the further you spin the focus ring the more blurry the background will be. Then carefully light paint the background and be sure to not light up the object you want to be in focus. Doing this will give you the fake blur that can be found on the second union pacific train image, and the vintage jewelry box.
Aside from that I recommend light painting all different kinds of objects. You can even do macro light painting. This can be seen on the conversation heart image. If you want more tips on light painting click here.
